Showing posts with label paper cut. Show all posts

Sunday, 2 June 2013

A Week of Photos- Saturday

Saturday: Another Papercut (sorryyyy)


Ok I know- I'm sorry- it's another papercut..... This one's been cut over a LONG period of time- I started this one at least a month ago, but it's finally nearly finished! (I spent last night cutting out the border whilst watching Sherlock) I just need to find a nice background for it- I think that perhaps I could try and find an old map of the UK or a nice block colour? I'm not sure.

Caroline xxx

Saturday, 1 June 2013

Week of Photos- Friday

Friday: Papercutting


I did a little papercutting today to stop complete boredom when revising!

Caroline xxx

Sunday, 7 April 2013

A Peek into my Sewing kit...


Another slightly different post today- I thought it would be nice to show you not necessarily what is in my 'sewing' kit, but more the things I use on a day-to-day basis for general crafty and arty stuff (mmm... good description Caroline...)


So, to start off, I'll show you the things I keep in this little handmade bag (you'll notice, quite a few of the things I have in my sewing box are handmade- if you haven't already seen my illustrated DIY for the pin cushion (below), it's here)
- I have some really pretty fat quarters my sister got for me that are from here
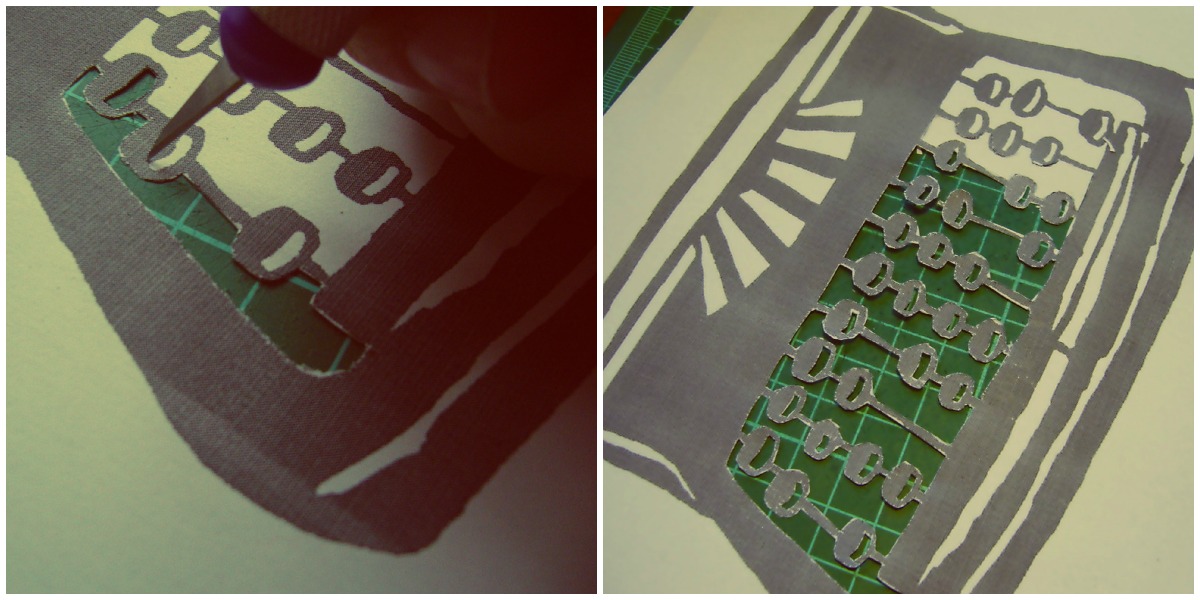
- a pencil case with my craft knife, a pencil, spare blades for my craft knife, a thin paintbrush, a glue stick and a pair of dress-making scissors, 
- a wooden board to paint/glue/rest my cutting mat on, 
- my cutting mat (looking a bit worse for wear now!), 
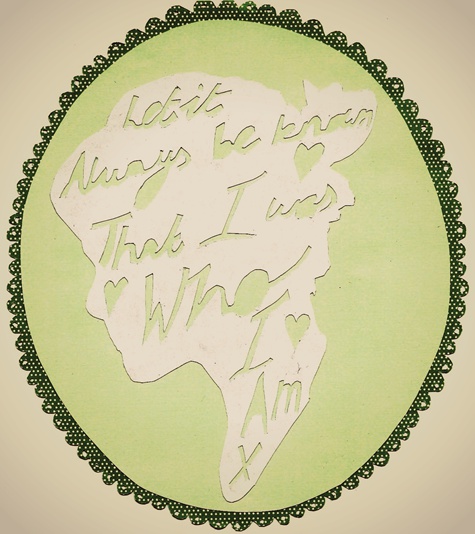
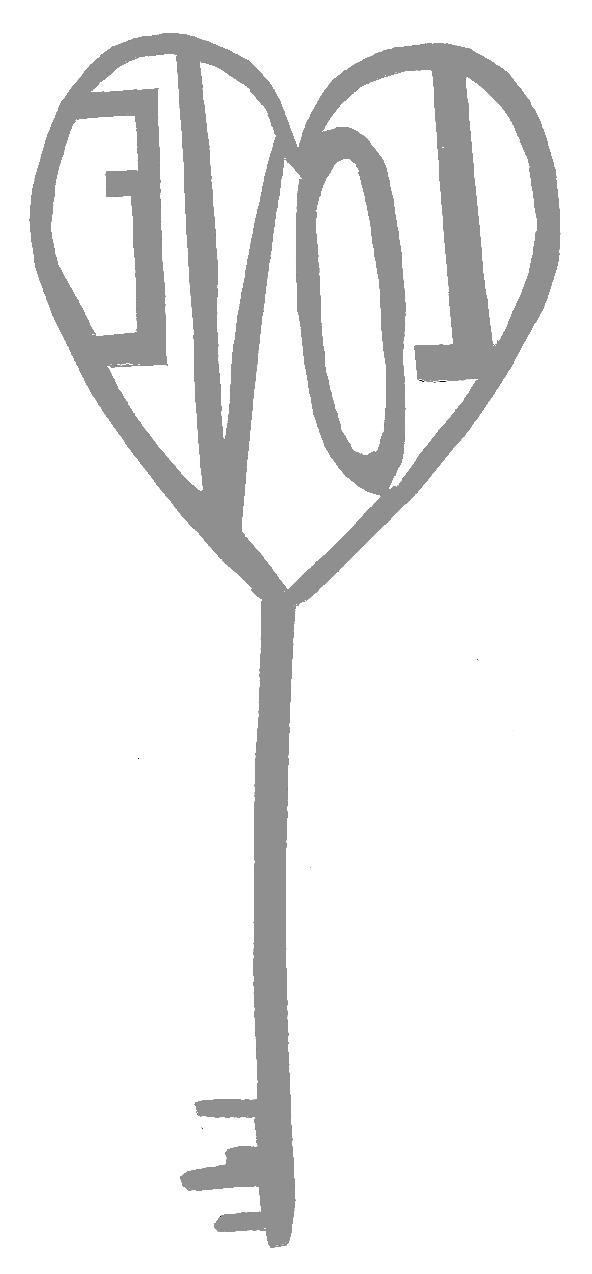
- papercuts that I haven't finished or don't know what to do with...
- paper to scribble down ideas.


I also have a jar full of beads, buttons, thimbles and an assortment of slightly random things... this jar fills up alarmingly fast!


In my biscuit tin (from Borough market), I keep an assortment of useful bits and bobs:
- Firstly, I have a big jar of lace, ribbon, leftover scraps of sari fabric (sooo pretttyyyy!) 


- old cotton thread, which is the strongest I have come across, and is perfect for both hand and machine sewing. 
- an old tape measure
- tiny bottles of beads, and embroidery thread, to prevent tangling/mixing of colours, and of course because they are cute!
- various types of washi tape (most of mine are by a company called 'mt'- they supply a lot of stationery shops, or you can buy them on etsy)
- an old pack of watercolour paints that is surprisingly good- it's lasted me for absolutely ages! 


-A tiny hand-sewn envelope that holds a miniature needle book
-a jar and pin cushion, all in one! DIY here


- and finally, a tiny jar full of jewellery making supplies- earring,, brooch and ring backs, beading wire, standard wire, green wire (?), beads in tiny packets, collected from various bead shops and metal spacer beads.  


I hope you enjoyed that- I realised it is quite a long post (sorry!) so well done if you are still reading :) 

Caroline xxx

Wednesday, 27 March 2013

Wild Horses (Angus Stone)


Inspiration Edition 4- Wild Horses (Angus Stone) 
~~
I was thinking about starting a little notebook of quotes and song lyrics to use for papercuts, and I stumbled across the most beautiful song- of course I had to make a papercut for it! (by the way- i'm really sorry for the bad lighting in this photography- it got dark really early today!)


Enjoy!
Caroline xxx

Sunday, 3 March 2013

Inspiration Wall DIY


This is quite a short simple DIY that is pretty self explanatory, so I decided to show you a few of the places I found a few posters, printable photos and vintage clip- art. I started with some posters I have collected- Vintage maps of Paris & London (couldn't find the specific London one I have- sorry!) and a seriously amazing Dalek poster.


I started by putting up my posters, my mirror and a framed butterfly papercut I have that I got on holiday. I used a couple of hooks, and white tack to attach them. 


I found some gorgeous camera prints from here that are absolutely beautiful. I didn't use any but these cutesy prints are adorable!

The rest were postcards, photos and paper bags, apart from a few vintage pieces of clip art- from here and here. If you have a favourite quote you want on your wall, try here for some pretty typography.


This is such a simple way to keep postcards and photos on display and it adds a little originality to a plain old wall!
Caroline xxx

Saturday, 29 December 2012

Quick DIY Papercut


A quick little DIY for you, that can be used for any celebration, 
and looks really cute on gift cards!
It is a papercut, and may seem a little tricky at first, but is easy once you know how.


Firstly, all you need is a printout of the template (above,) a craft knife, 
a cutting mat and a printout of the message you want (see below!)


You have to cut away the white parts of the template.
Start with the middle, cutting the smallest parts first. This helps to stop the paper from ripping.
It is easier to hold the paper with one hand, to stop the paper slipping. 
Cut away from this hand though, to prevent you cutting yourself! 
Another tip is to move the paper round, rather than cut in an awkward direction. 


Keep cutting until you have completed the whole typewriter. 
Then you need to print out your message. I thought that an old typewriter font looks really cute- here are a couple to try out- here and here.
Of course, if you are lucky enough to own a retro typewriter, that would be perfect!!
Print it quite small to fit in your typewriter, and cut to the width you want.
  

Slide it under the top line of the typewriter (see below) and turn the whole thing over. 
Draw in pencil where you want to cut, so that the white paper doesn't show under the papercut
(this is a bit hard to explain- sorry! 
Take a look at the photos for help if you don't understand what I'm on about!)
Cut the paper, and glue into position.


Your papercut is now ready! 
There are so many ways to use them, but I think they make really nice
gift cards or framed little presents.


Happy New Year!
Caroline xxx


Monday, 20 August 2012

The Beauty of Paper


Something I have always loved doing is making a paper cut-
It's quite time consuming, and you need a lot of patience,
 but it is worth it! 


Above are some examples of paper cuts I have made recently.
I draw all the templates myself,
but I thought I could show you a really quick one I like making,
and maybe  give you a template to start with.
I hope I can inspire you to make your own!


The template for this paper cut is below.


For those of you who haven't done a paper cut before, 
they are really quite simple to do. 


All you need is; 
a cutting mat,
 a craft knife,
the template 
(click on the template picture and print it to the size you want),
some pretty paper for a background
 (origami paper works well)
and some glue.


Begin by cutting out the smaller pieces, and work your way out.
It is easier to turn the paper when you are cutting, rather than the knife.


When you have finished, glue the grey side to the background paper,
making sure you only use a small amount of glue! 


These paper cuts look really pretty framed or on a card. 
Happy paper cutting!